Next.js App Router
This guide walks you through adding Toolpad Core to an existing Next.js app.
Prerequisites
Ensure that you have @mui/material and next installed. You also need the following to make the integration work correctly:
npm install @mui/material-nextjs @emotion/cacheWrap your application with NextAppProvider
In your root layout file (for example, app/layout.tsx), wrap your application with the NextAppProvider:
import { NextAppProvider } from '@toolpad/core/nextjs';
import LinearProgress from '@mui/material/LinearProgress';
import { AppRouterCacheProvider } from '@mui/material-nextjs/v15-appRouter';

export default function RootLayout({ children }: { children: React.ReactNode }) {
  return (
    <AppRouterCacheProvider options={{ enableCssLayer: true }}>
      <React.Suspense fallback={<LinearProgress />}>
        <NextAppProvider navigation={NAVIGATION} branding={BRANDING}>
          {children}
        </NextAppProvider>
      </React.Suspense>
    </AppRouterCacheProvider>
  );
}
You can find details on the NextAppProvider props on the AppProvider page.
Create a dashboard layout
Create a layout file for your dashboard pages (for example, app/(dashboard)/layout.tsx):
import * as React from 'react';
import { DashboardLayout } from '@toolpad/core/DashboardLayout';
import { PageContainer } from '@toolpad/core/PageContainer';

export default function DashboardPagesLayout(props: { children: React.ReactNode }) {
  return (
    <DashboardLayout>
      <PageContainer>{props.children}</PageContainer>
    </DashboardLayout>
  );
}
The DashboardLayout component provides a consistent layout for your dashboard pages, including a sidebar, navigation, and header. The PageContainer component is used to wrap the page content, and provides breadcrumbs for navigation.
Create a dashboard page
Now you can create pages within your dashboard. For example, a home page (app/(dashboard)/page.tsx):
import * as React from 'react';
import Typography from '@mui/material/Typography';

export default function Page() {
  return <Typography>Welcome to a page in the dashboard!</Typography>;
}
That's it! You have now integrated Toolpad Core into your Next.js app.
(Optional) Add a second page
Create a new page in the dashboard, for example, app/(dashboard)/orders/page.tsx:
import * as React from 'react';
import Typography from '@mui/material/Typography';

export default function OrdersPage() {
  return <Typography>Welcome to the orders page!</Typography>;
}
To add this page to the navigation, add it to the NAVIGATION variable:
export const NAVIGATION = [
  // ...
  {
    segment: 'orders',
    title: 'Orders',
    icon: <ShoppingCartIcon />,
  },
  // ...
];
(Optional) Set up authentication
If you want to add authentication, you can use Auth.js with Toolpad Core. Here's an example setup:
Install the dependencies
npm install next-auth@beta
Create an auth.ts file
import NextAuth from 'next-auth';
import GitHub from 'next-auth/providers/github';
import type { Provider } from 'next-auth/providers';

const providers: Provider[] = [
  GitHub({
    clientId: process.env.GITHUB_CLIENT_ID,
    clientSecret: process.env.GITHUB_CLIENT_SECRET,
  }),
];

export const providerMap = providers.map((provider) => {
  if (typeof provider === 'function') {
    const providerData = provider();
    return { id: providerData.id, name: providerData.name };
  }
  return { id: provider.id, name: provider.name };
});

export const { handlers, auth, signIn, signOut } = NextAuth({
  providers,
  secret: process.env.AUTH_SECRET,
  pages: {
    signIn: '/auth/signin',
  },
  callbacks: {
    authorized({ auth: session, request: { nextUrl } }) {
      const isLoggedIn = !!session?.user;
      const isPublicPage = nextUrl.pathname.startsWith('/public');

      if (isPublicPage || isLoggedIn) {
        return true;
      }

      return false; // Redirect unauthenticated users to login page
    },
  },
});
Create a sign-in page
Use the SignInPage component to add a sign-in page to your app. For example, app/auth/signin/page.tsx:
import * as React from 'react';
import { SignInPage, type AuthProvider } from '@toolpad/core/SignInPage';
import { AuthError } from 'next-auth';
import { providerMap, signIn } from '../../../auth';

export default function SignIn() {
  return (
    <SignInPage
      providers={providerMap}
      signIn={async (
        provider: AuthProvider,
        formData: FormData,
        callbackUrl?: string,
      ) => {
        'use server';
        try {
          return await signIn(provider.id, {
            redirectTo: callbackUrl ?? '/',
          });
        } catch (error) {
          // The desired flow for successful sign in in all cases
          // and unsuccessful sign in for OAuth providers will cause a `redirect`,
          // and `redirect` is a throwing function, so we need to re-throw
          // to allow the redirect to happen
          // Source: https://github.com/vercel/next.js/issues/49298#issuecomment-1542055642
          // Detect a `NEXT_REDIRECT` error and re-throw it
          if (error instanceof Error && error.message === 'NEXT_REDIRECT') {
            throw error;
          }
          // Handle Auth.js errors
          if (error instanceof AuthError) {
            return {
              error: error.message,
              type: error.type,
            };
          }
          // An error boundary must exist to handle unknown errors
          return {
            error: 'Something went wrong.',
            type: 'UnknownError',
          };
        }
      }}
    />
  );
}
Create a route handler for sign-in
next-auth requires a route handler for sign-in. Create a file app/api/auth/[...nextauth]/route.ts:
import { handlers } from '../../../../auth';

export const { GET, POST } = handlers;
Add a middleware
Add a middleware to your app to protect your dashboard pages:
export { auth as middleware } from './auth';

export const config = {
  // https://nextjs.org/docs/app/building-your-application/routing/middleware#matcher
  matcher: ['/((?!api|_next/static|_next/image|.*\\.png$).*)'],
};
That's it! You now have Toolpad Core integrated into your Next.js App Router app with authentication setup:
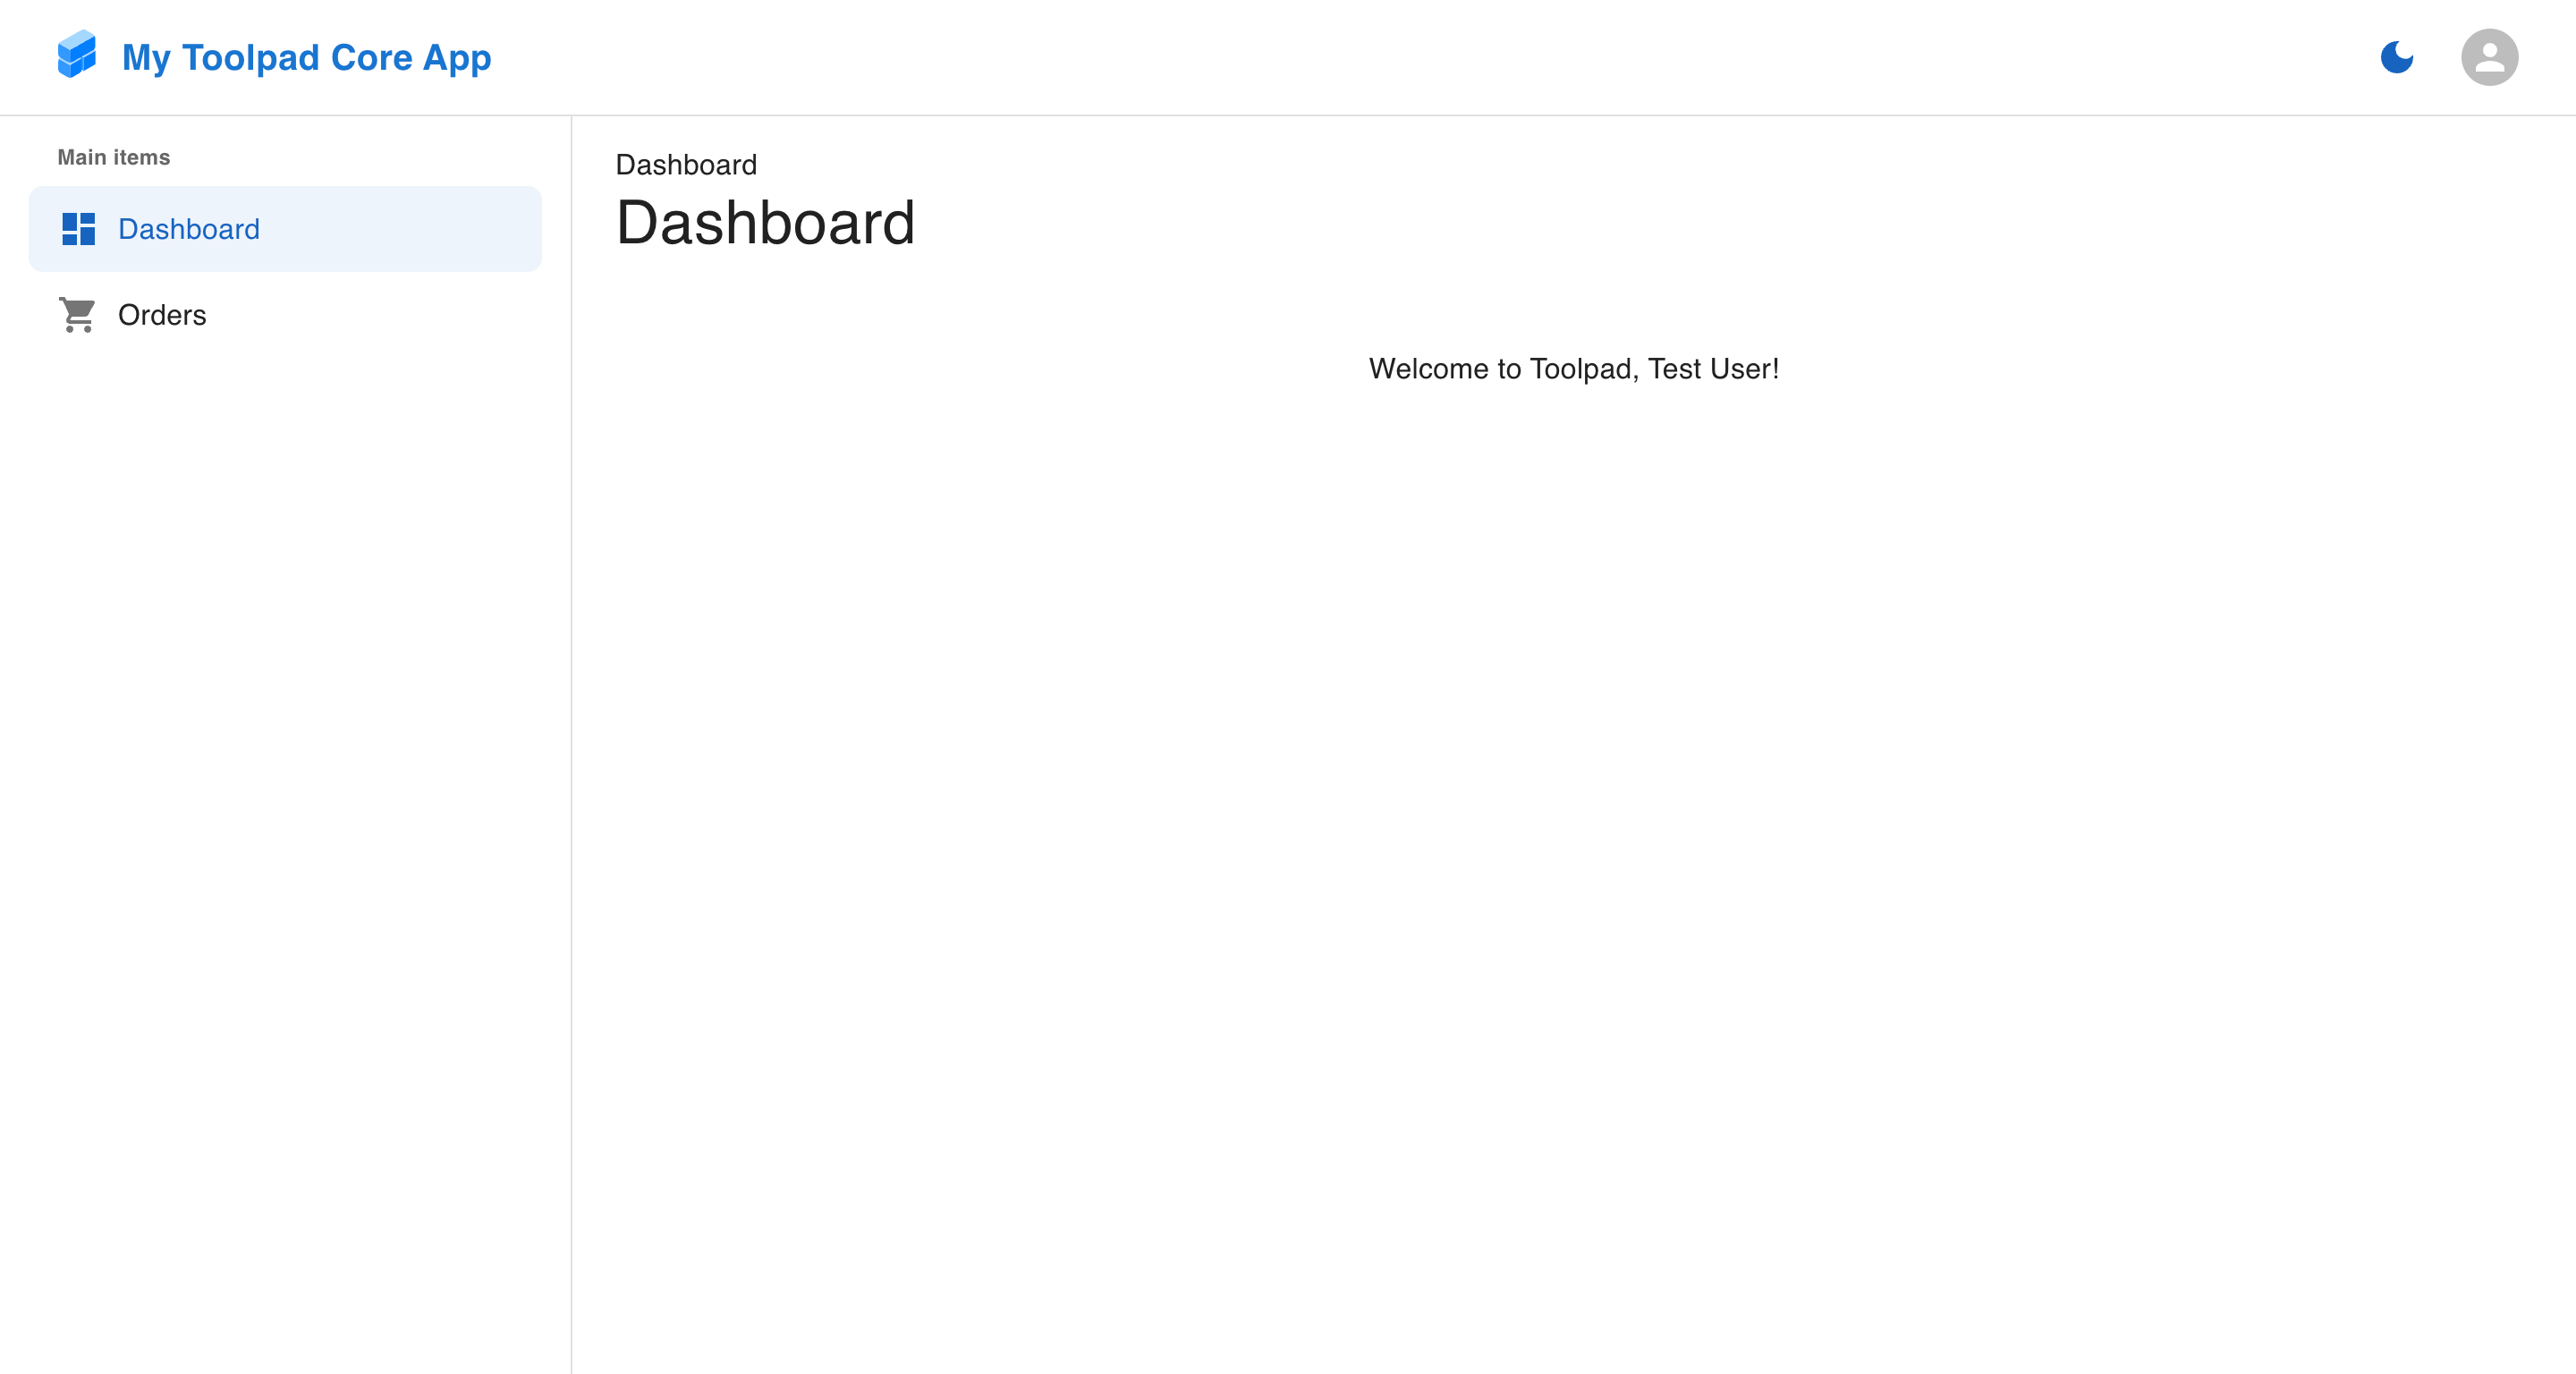
Next.js App Router with Toolpad Core